Manual vs Electric Coffee Grinders: Which One Is Right for You?
When you’re stepping up your coffee game, the grinder you choose becomes one of the most important tools in your brewing journey. But should you go manual or electric? Let’s weigh the pros and cons to help you decide which grinder type suits your lifestyle, budget, and brewing goals.


Manual Coffee Grinders
Pros:
- Portability: Great for travel or small kitchens no outlet needed.
- Quiet operation: Ideal for early mornings when silence matters.
- Precision at a lower price: High-quality manual burr grinders can rival electric ones.
- Durability: Fewer parts mean less that can break.

Cons:
- Effort: You’ll need to crank it by hand, which can be tiring for multiple cups.
- Speed: Takes longer, especially for finer grinds like espresso.
Best for:
- Coffee lovers who enjoy a hands-on approach
- Those who mainly brew pour-over, AeroPress, or French press
- Budget-conscious home baristas looking for precision
Popular Picks: 1Zpresso JX-Pro, Hario Skerton, Timemore Chestnut C2
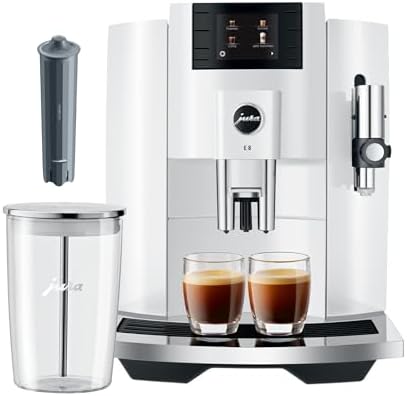
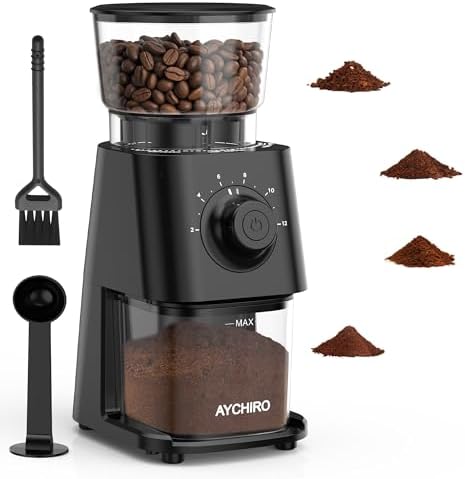
Electric Coffee Grinders
Pros:
- Speed: Grind a full batch in seconds.
- Convenience: Just push a button ideal for busy mornings.
- Consistency: More grind settings and better output at higher price points.
- Espresso-friendly: Many can grind ultra-fine for espresso machines.
Cons:
- Price: Entry-level electric grinders may not match the quality of manual burr grinders.
- Noise: Can be loud something to consider in shared spaces.
- Size: Typically bulkier and need counter space.
Best for:
- Daily drinkers needing multiple cups
- Espresso machine users
- Anyone prioritizing convenience over manual effort
Popular Picks: Baratza Encore, Fellow Opus, Breville Smart Grinder Pro
Which Should You Choose?
Ask yourself:
- How many cups do you brew a day?
- Do you prefer speed or ritual?
- How important is grind consistency?
- Do you have space and budget for a larger appliance?
If you’re all about ritual and brewing just a cup or two, manual may be perfect. But if convenience and speed are priorities especially if you’re brewing for more than one person go electric.
One rewards patience and control
Both manual and electric grinders have a place in the home barista world. The key is aligning your grinder choice with your brewing style and daily habits. One rewards patience and control; the other offers efficiency and consistency. Either way, freshly ground coffee beats pre-ground every time.
read more: Being a Home Barista: Hobby or Lifestyle?