Are You Curious About Elegant Fork and Spoon Sets?
Since childhood, fork and spoon sets have always fascinated me. I often examine and analyze the sets used at the dining table. In fact, when I visit someone’s home, I try to understand what kind of people they are based on their cutlery sets. I make personality analyses based on whether the sets are modern, classic, or minimalist. Additionally, having a fork and spoon set on the table where we eat is strangely satisfying. Even if people don’t notice, the set contributes to the enjoyment of the meal. It can influence whether the meal becomes a lively, talkative gathering or a quiet one where everyone simply eats. Some sets are used only for breakfast, while others, such as gold-plated ones, go beyond being just utensils they create an atmosphere.
The sets we use in our daily lives are fun and practical. However, the main purpose of this article is to focus on fork and knife sets that stand out in terms of design and quality. These are elegant, thoughtfully designed pieces that make the host feel special. Whether it’s a simple pizza day with friends or a quiet pasta night with family, it doesn’t matter.

Here are some fork and spoon sets that can positively influence your dining experience and personal motivation:
Matte Gold Stainless Steel Set
These steel sets stand out with their flashy yet subtle designs. I usually pair them with dark-colored plates or natural wooden pieces. The reason is simple—they look great with minimal tables.
For more details read article: Why I’m Slightly Obsessed with the Matte Gold Stainless Steel Set
Black Titanium Flatware Set
The color black may raise some questions, but in some cases, it presents both elegance and boldness. If you have a modern perspective and your dining style leans more contemporary, you might prefer this type of set.
For more details read article: Features of the Black Titanium Flatware Set
Scandinavian Cutlery Set for a Minimalist Style
If you’re not a fan of flashy designs and prefer more subtle styles, you can opt for a Scandinavian set. These sets are generally light and soft, with metallic tones. They’re often described as understated luxury.
For more details read article:Why a Scandinavian Cutlery Set Just Feels Right at the Table
Brushed Rose Gold Collection
If you have a romantic personality and enjoy retro aesthetics, this is a set you might prefer. It’s perfect for brunches or lively parties at home.
For more details read article: Why the Brushed Rose Gold Collection Feels Like a Tiny Love Letter to Your Table
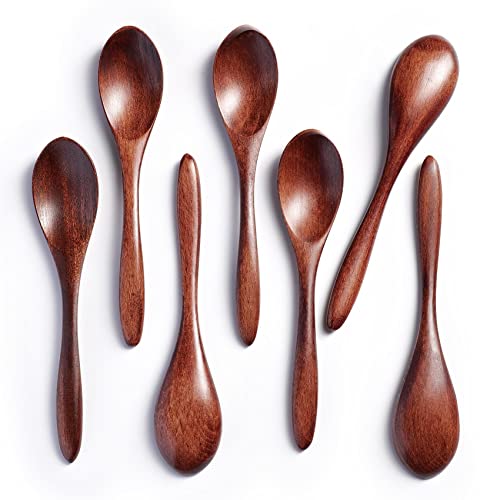
Handcrafted Artisan Set
Each piece is different, like the fingerprint of the cutlery world. You can truly feel the craftsmanship in every detail.
For more details read article: How Do Handcrafted Cutlery Sets Affect People?
White Ceramic-Handled Set
Soft-textured and unique enough to stand out right away. Bonus: they look perfect in Instagram photos.
For more Details Read Article: White Ceramic-Handled Set Review
You don’t necessarily have to use these sets only for hosting guests. Sometimes you just want to make yourself happy. I recommend not hesitating to use your special sets when you need a boost. Maybe you want to imagine yourself in an Italian restaurant—that’s a feeling we all crave from time to time.
A little tip from me: If you plan to use the sets for hosting, go for ones designed for eight people. Six-person sets might not be enough. I’ve made that mistake before unexpected guests can always show up.
So yes, forks and spoons shouldn’t just be defined as kitchen tools. They motivate you, they motivate your guests. They help make your day better and boost your mood.