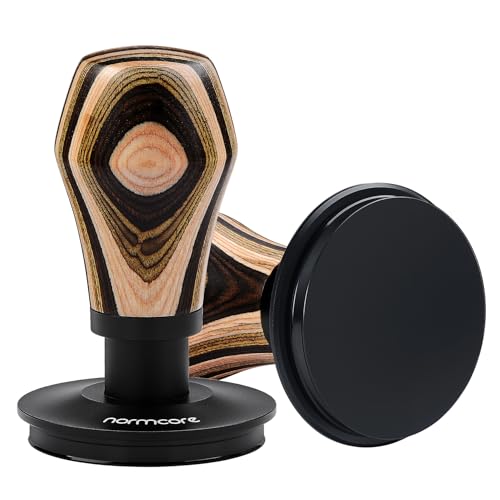
Dosing Funnel: A Simple Tool That Prevents Mess and Waste
If you’ve ever tried to pour ground coffee directly from your grinder into a portafilter, you know the mess that follows. Grounds spill over, create a mess on your countertop, and you’re left losing precious grams of your carefully measured coffee. That’s where a dosing funnel comes in.

It’s small and inexpensive, but it’s a home barista must-have for those who care about accuracy and sanitation.
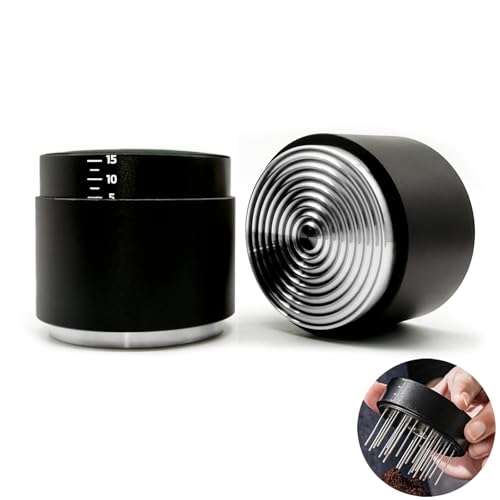
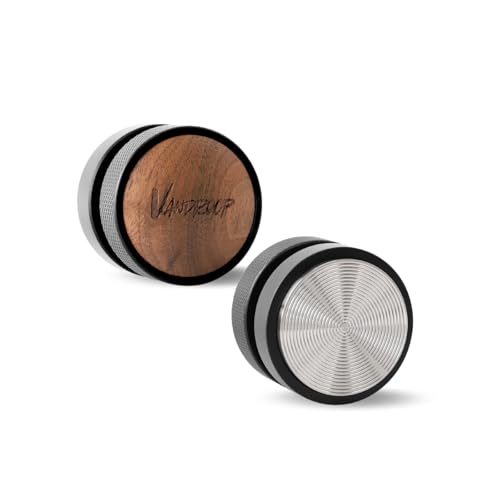
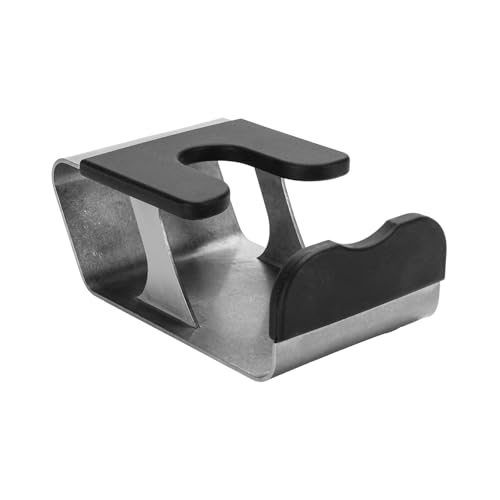
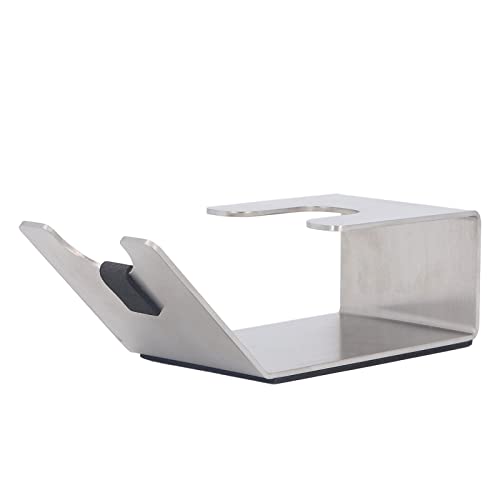
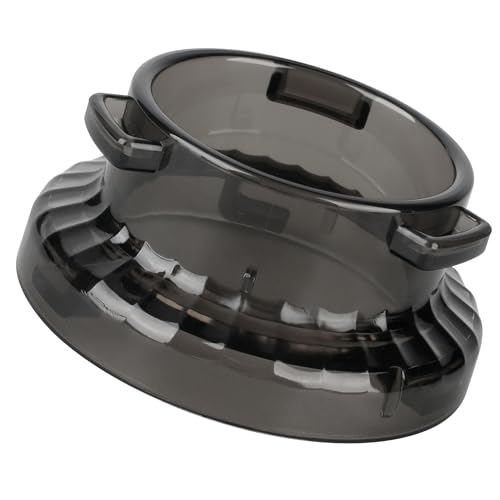
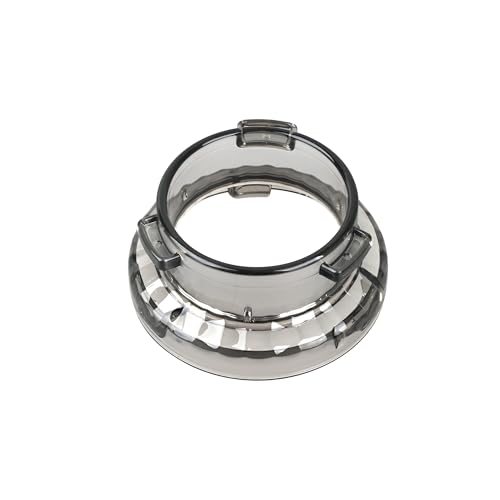
What Is a Dosing Funnel?
A dosing funnel is a circular collar that fits on top of your portafilter. When grinding, it acts as a barrier to keep coffee grounds from spilling over the edge. Once you’re done, simply remove the funnel and tamp as usual.
Why It Matters
- Reduces Mess
No more sweeping up loose grounds or wiping your counter after every dose. The funnel contains everything neatly in the basket.
- Prevents Waste
Coffee is expensive especially specialty-grade beans. Even small losses to dosing add up over time. A funnel keeps each gram in its place.
- Increases Consistency
By directing all the grounds into the basket, a dosing funnel guarantees evenly distributed grounds, a crucial element of creating better extractions.
Who Should Use One?
Honestly? Everyone. Whether you’re a beginner or a pro, this tool simplifies your process and helps maintain a tidy workspace. If you’re using a single-dose grinder or measuring out beans manually, a dosing funnel is practically essential.
read more: How Coffee Bloom Time Affects Final Flavor: A Comparative Analysis
Choosing the Right Funnel
Size matters – Make sure it matches your portafilter diameter (usually 58mm or 54mm)
Material – Stainless steel or aluminum funnels are durable and static-resistant
Magnetic base (optional) – Some models lock in place for hands-free grinding
Final Thoughts
The espresso dosing funnel is one of those small investments that pay off big in convenience and consistency. If you’re building a serious espresso setup, don’t skip it.