The Difference Between Flat Bottom and Round Bottom Woks: Which One Is Better for You?
When choosing a wok, the shape of the bottom is more than a cosmetic feature it determines how effectively the wok will perform in your kitchen. The two popular types are flat bottom and round bottom, each with its advantages and ideal uses.
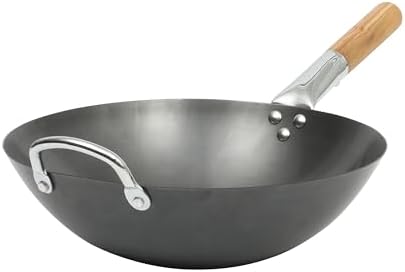
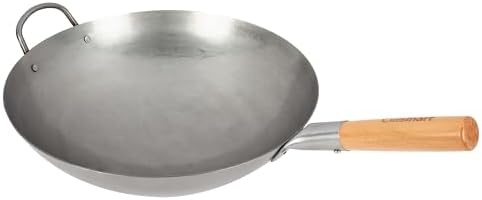
Round Bottom Woks: Traditional Model
Round bottom woks are the traditional model in traditional Chinese cooking. Their curved shape:
- Concentrates heat at the center
- Encourages constant tossing of food
- Compatible with high power gas burners
Pros:
- Excellent for fast stir frying
- Less effort to create Wok Hei
- Good heat concentration
Cons:
- Not compatible with flat stovetops
- Requires a wok ring for support
- Not compatible with induction or ceramic cooking ranges
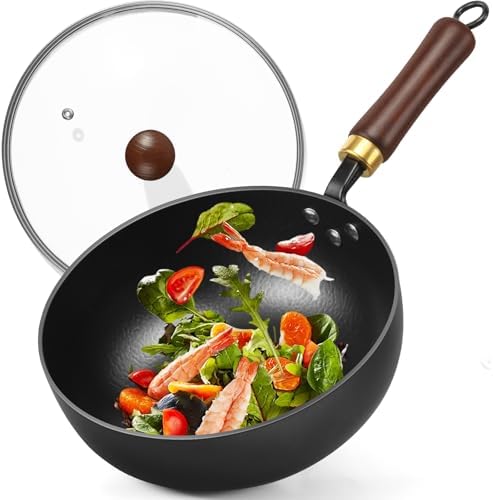
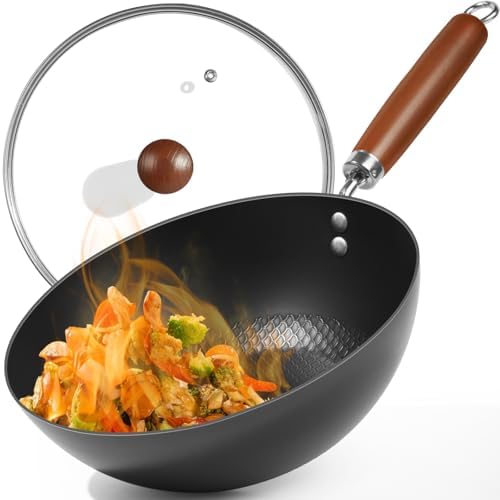
Modern Flat Bottom Woks: Western Stoves
Modern flat bottom woks are modified to work better with Western stoves. They offer:
- Direct surface contact with electric or induction burners
- More stability with no extra accessories
- Easier to use by newbies, slightly
Pros:
- Works on all stovetops
- No ring needed for wok
- Easy to keep heat consistent on flat surfaces
Cons:
- Not as good tossing food around
- Hard to achieve real Wok Hei because of heat dispersal
Performance Comparison: Heat Focus
| Area | Round Bottom | Flat Bottom |
| Heat Focus | Excellent | Good |
| Range of Stove Suitable | Gas only (with ring) | All types |
| Wok Hei Potential | High | Moderate |
| Ease of Use for Beginners | High | Moderate |
E-Tablolar’a aktar
Which One Do You Need?: authentic experience
Use a Round Bottom Wok if:
- You have a gas stove with a wok ring or high heat burner and want an authentic stir fry experience.
Choose a Flat Bottom Wok if:
- You’re using an electric, glass, or induction cooktop and need better surface contact and stability.
Final Thoughts: skill level
The decision to use a flat or round bottom wok must be determined by your stove type, cooking style, and skill level. While the round bottom woks provide the authentic experience, the flat bottom woks make wok cooking accessible to more kitchens globally without going to special equipment.
Related article: Things to Consider When Choosing a Wok: Features and Tips for Buying the Perfect Wok


")
