Do You Need a Puck Screen? The Truth About Cleaner Shower Screens and Even Extraction
If you’re on Instagram or TikTok and follow coffee people, you’ve definitely come across it. They get the basket ready, press down the coffee, and then carefully put a thin metal mesh disc on it before making the shot.
This is the puck screen for the espresso machine. Everyone in the home coffee scene is really loving this new one right now.
But seriously, does it really change the flavor of your coffee, or is it just another fancy $15 thingy that’ll end up lost at the bottom of your knock box?
Having pulled thousands of shots myself, some with screens and some without, I really looked into how water moves and how clean things stay to figure out what’s what.
What Does a Puck Screen Actually Do?
You ever wonder what a puck screen actually does? Well, it basically helps your coffee grounds brew more evenly. Imagine the water hitting your coffee bed. Without a screen, it can kind of blast a hole right in the middle, or just hit in one spot and not wet everything.
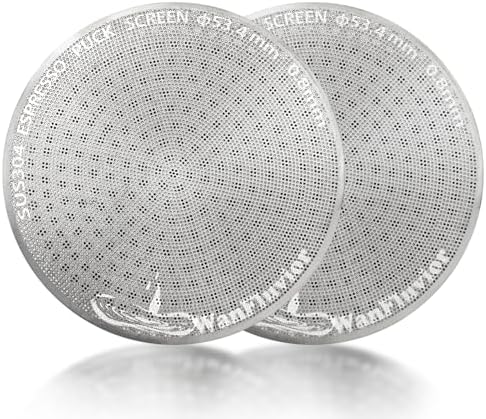
A puck screen is basically a few layers of stainless steel mesh stuck together. It’s a really thin disk, about 1.7mm thick or 150 microns, that you just place right on top of your coffee after you’ve tamped it down.
It’s supposed to do two things:
- Secondary Water Dispersion: It takes that strong, rushing water from the machine and softens it into a nice, gentle shower.
- Headspace Filler: This gadget helps shrink the gap between your coffee and the machine, which can stop your coffee puck from turning into a soggy mess.
The Extraction Test: Does It Stop Channeling?
You know, the main reason people snag an espresso machine puck screen is to sort out “channeling.” That’s when the high-pressure water just blasts a hole right through your coffee, which totally messes up your shot, making it taste all sour and bitter.
The Analyst’s View: So, if you’ve got a more affordable machine, maybe something like a Breville Barista Express or a Gaggia Classic Pro, the shower screen that comes with it usually sprays water all over the place. It often sends the puck right down the middle with way too much oomph.
Throwing in a puck screen really ups your machine’s game for how water gets spread around. The water lands on the mesh, fans out sideways, and pushes down on the coffee just right.
- The Result: You’ll notice way fewer little holes or craters when you look at your used coffee grounds.
- The Taste: It’s not like it’s a magic wand that’ll fix bad beans, but it makes your shots more consistent. If your shots are sometimes too fast and sometimes too slow, this thing helps keep things steady.
The “Killer Feature”: A Pristine Group Head
You know, getting more out of my coffee is cool and all, but honestly, that’s not the main thing keeping me using a puck screen every single day. It’s all about keeping things clean.
When you stop an espresso, the machine’s 3-way solenoid valve lets out pressure, which can sometimes pull coffee grounds and oil right back up into the shower screen. Here’s why your group head ends up getting all dirty.
A puck screen just creates a physical barrier. BaristaBob from the Home-Barista forums mentioned something interesting. He said that after he started using a screen for about a month, his usual chemical backflushing routine produced almost clear water. That screen really does stop the coffee grounds from messing up the group head. If you really dislike scrubbing out your machine, this little extra is totally worth getting just for that.
The Downsides (Nobody Talks About)
It’s not all perfect. Just a heads-up, there are a couple of things that might bug you:
- The “Knock Box” Struggle: Anyone who’s used a knock box knows this annoying struggle. You go to knock out the coffee grounds, and boom, the screen falls right out with the puck. So, you’ve gotta grab a hot metal disc from the trash. It’s a real pain, honestly.
- Thermal Mass: A cold metal screen will actually make your brew temperature go down by 2 to 4 degrees. Quick Tip: You really should warm up the screen first. Just pop it on top of your machine or run some hot water through it before you get started.
The Big Question: Is This Really Needed?
You should think about getting a puck screen if:
- You own a Gaggia, Breville, or De’Longhi: You’ll really notice how much better these machines work with the upgraded water dispersion.
- You hate cleaning: Seriously, if you just keep that group head clean, your life will be so much easier.
- You see holes: If your coffee grounds look like they’ve been to the moon and back, this will sort it out.
Skip it if:
- You have a commercial E61 machine: Good news! They’re already really great at spreading water nicely. You won’t really notice any change.
- You value speed: Finding a hot disc in the trash when all you want is a quick caffeine fix before work is just an irritating delay.
Is it worth the hype? For just fifteen bucks, this is one of those rare accessories that actually makes things more consistent, if you don’t mind a tiny bit of extra effort in your routine.