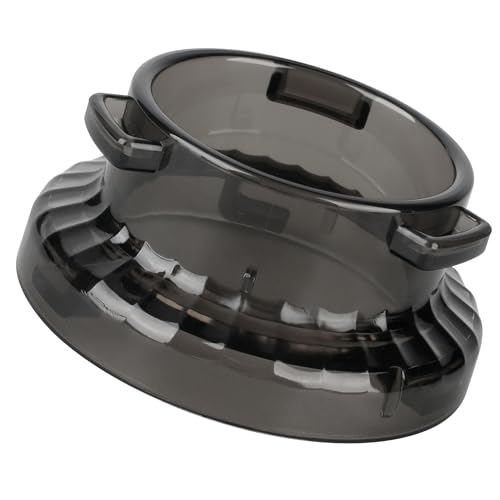
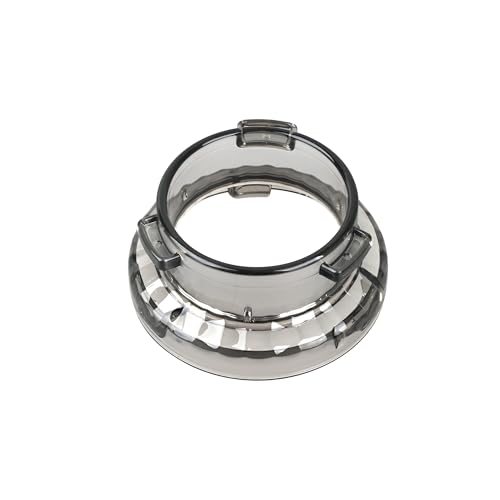
What Is a Dosing Funnel and Do You Really Need One?
Dosing coffee into a portafilter can look simple-looking until coffee grounds start flowing all over the place, wasting precious espresso and making a mess. That’s where a dosing funnel steps in to save your shot and your countertop.

Let’s take a closer look at what a dosing funnel is, what it does, and if it’s worth investing in your espresso routine.
What Is a Dosing Funnel?
A dosing funnel is a small ring usually stainless steel or food-grade plastic that rests on top of your portafilter basket. It acts as a guide to keep your coffee grounds from spilling over when dosing and leveling, especially when grinding or when using a WDT tool.
Why Use a Dosing Funnel?
Reduces Waste: No more coffee grounds on your countertop.
Even Distribution: Helps with even leveling when dosing with a WDT tool or shaking technique.
Clean Workflow: Avoids need for constant cleaning and wiping.
Single Dosing Perfection: Especially helpful for precision espresso making.
Do You Really Need One?
If you want to master precision and consistency, a dosing funnel can be a game-changer especially if:
You have a thin portafilter.
You grind directly into the basket.
You distribute or use a WDT tool.
But if your grinder already is just as accurate or if you do have a dosing cup system, you might not need it.
How to Choose the Right Funnel
Size Compatibility: Funnel sizes are usually 58mm or 53mm. Ensure that yours is compatible with your portafilter.
Material: Stainless steel will be longer-lasting; plastic is lighter and cheaper.
Magnetic or Non-Magnetic: Some funnels are magnetic so they stay stuck on solidly during distribution.
Bonus: Funnel + WDT = Better Extraction
A dosing funnel is perfect to use in combination with a WDT (Weiss Distribution Technique) tool, which breaks up clumps. The funnel keeps the whole coffee within the basket while you groom the grounds for equal extraction.
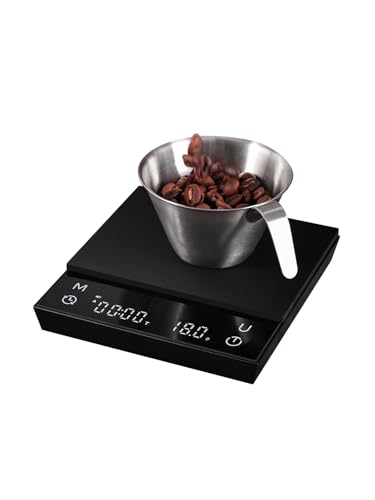
read more: Why a Coffee Scale Is Essential for Consistent Brews