Silicone vs. Stainless Steel Wok Tools: Which is Safe for Seasoning?
The debate over the best wok material, carbon steel versus cast iron, often overshadows an equally critical decision: what tools do you use to cook? When deciding between silicone and stainless steel for your cherished wok, the answer doesn’t stop at heat resistance; it’s fundamentally about wok seasoning protection.
The Role of Seasoning in Wok Cooking: Wok Hei
A well-seasoned wok has a natural, non-stick polymer layer built up from polymerized oil. This seasoning is the heart and soul of Asian cooking, providing the superior heat distribution and the famous wok hei (smoky aroma). The main goal of any wok tool is not to compromise this delicate layer.
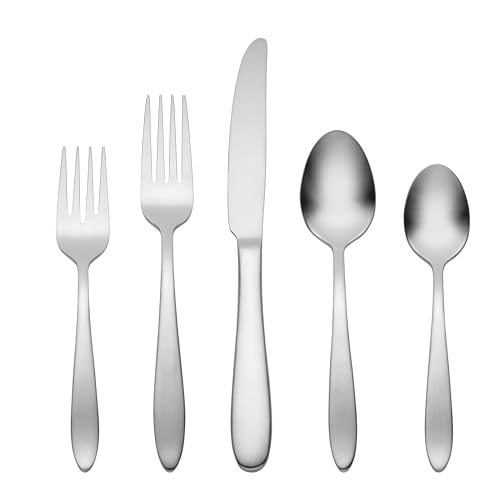
Stainless Steel: The Traditional Choice: Smoothing It
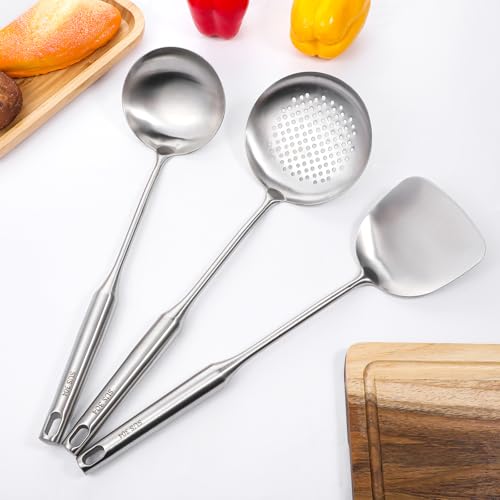
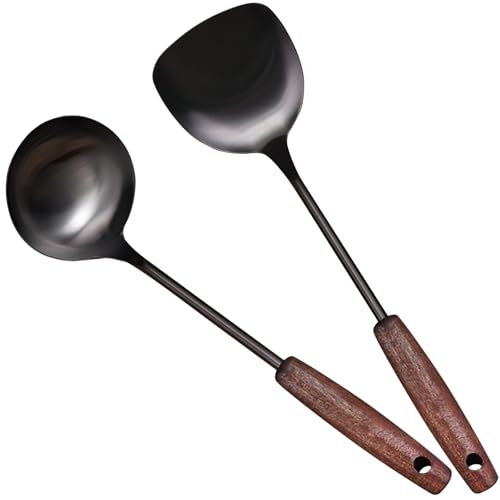
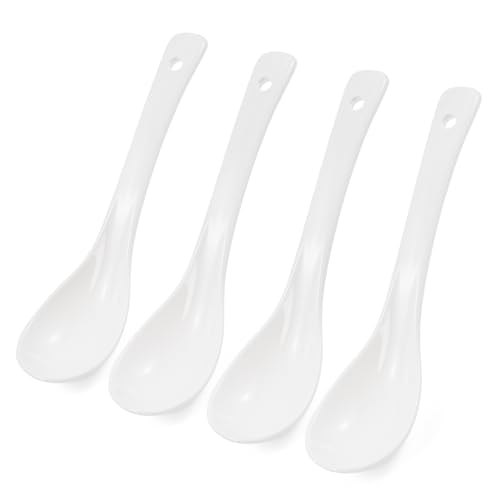
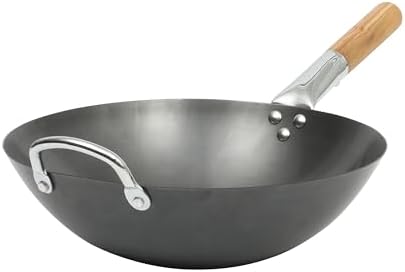
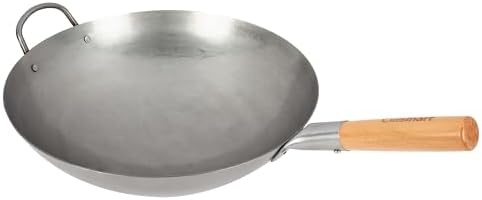
With carbon steel and cast iron woks, the traditional choice has always been stainless steel tools, particularly the dedicated wok spatulas or chuan and ladles or hoak.
Why Stainless Steel Works:
- Thin Edge: A thin metal edge is what enables a wok to get underneath food and effectively scrape along the surface to remove any stuck particles. Contrary to the notion, this often does much to help the seasoning layer, smoothing it out and working oil back into the metal.
- Heat Conduction: Although it requires a long handle, the actual steel can support extremely high heat from a high-BTU burner.
Silicone: The Non-Stick Specialist: Pushes Food
Silicone tools are great for regular non-stick Teflon cookware, but they pose a number of issues when used in conjunction with a traditionally seasoned wok.
Why Silicone Falls Short:
- Thickness: Silicone spatulas are too thick. As such, they cannot get well underneath ingredients such as rice or noodles, leading to ripping, sticking, and hence a poor stir-fry.
- Melting Point: Though high, the melting point of silicone can be tested in a scorching hot, high BTU wok, leading to residue transfer.
- Damage, Not Repair: Silicone’s soft edge is ineffective at smoothing out minor inconsistencies in the seasoning. It simply pushes food around, rather than actively incorporating oil into the surface while cooking.
The Verdict on Seasoning Safety: Wok Mastery
For a well-seasoned carbon steel or cast-iron wok, stainless steel utensils are not only safe but recommended; they are part of stir-frying and, handled properly, maintain the seasoning with a clean cooking surface and good movement of food. Reserve silicone for your non-stick pans. Go with steel to reach authentic wok mastery.